Setting up Lightburn
What Is LightBurn?
LightBurn is a software application designed for use with laser systems and can also be used with CNC machines fitted with a laser. It provides design, editing, and G-code generation tools for laser engraving and cutting applications.
LightBurn offers a free trial, allowing you to test the software with your machine before purchasing a licence. LightBurn is supported on Windows, macOS, and Linux operating systems.
Once you have confirmed that LightBurn meets your requirements, you must purchase a licence for the G-code version of the software.
This document does not explain how to use LightBurn itself. It explains how to configure LightBurn for use with MASSO. This guide assumes you are using a diode laser.
Configuring LightBurn for Use With MASSO
Step 1: Select the Correct Machine Type
When LightBurn is opened for the first time, you will be prompted to select a device.
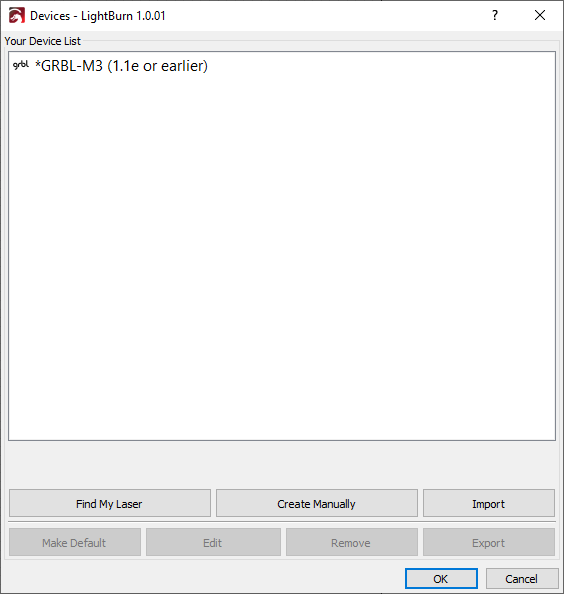
Select Create Manually, then choose GRBL-M3 (1.1e or earlier) and click Next. Select Serial/USB and click Next. Enter the X and Y axis travel dimensions for your machine and click Next. Disable the Auto Home Laser option so that the switch is off, then click Next. Click Finish to complete device creation.
At this point, the basic device setup is complete.
Step 2: General Settings
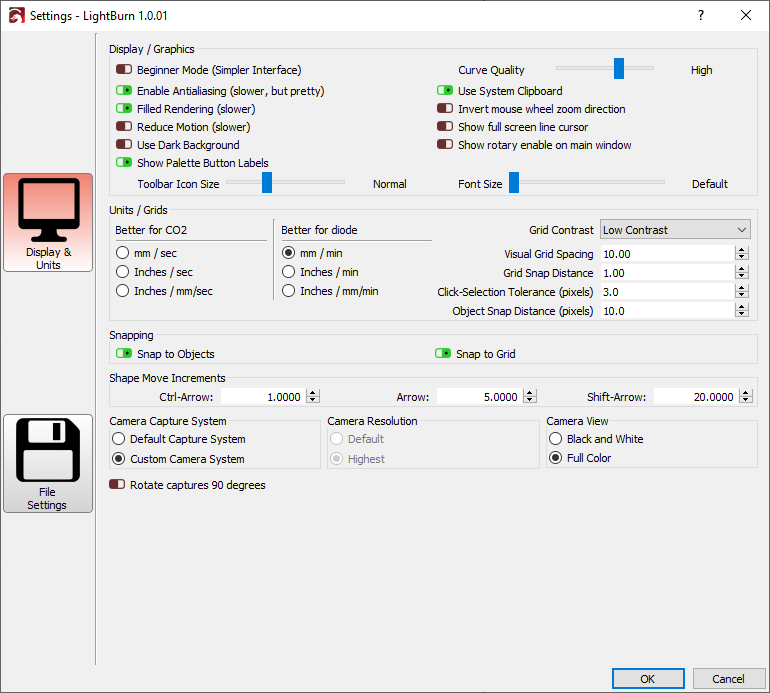
Open the General Settings by clicking the settings icon
on the top toolbar. Under Units and Grids, select mm/min or inches/min as required. Click OK to save the settings.

General settings configuration is now complete.
Step 3: Device Settings – Basic Settings Tab
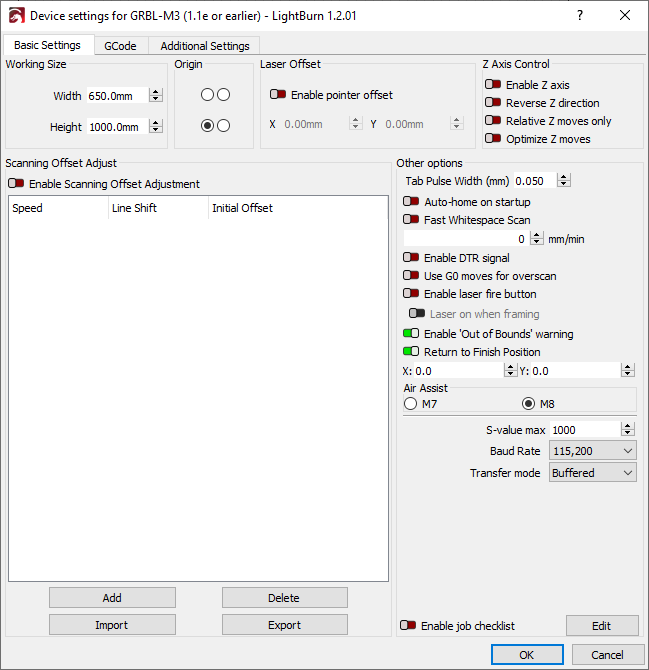
Open the Device Settings by clicking the device settings icon
on the top toolbar. Under the Basic Settings tab, set Air Assist to M8 and set S-Value Max to 1000. Click OK to save the settings.

Basic device settings configuration is now complete.
Step 4: Device Settings – G-code Tab
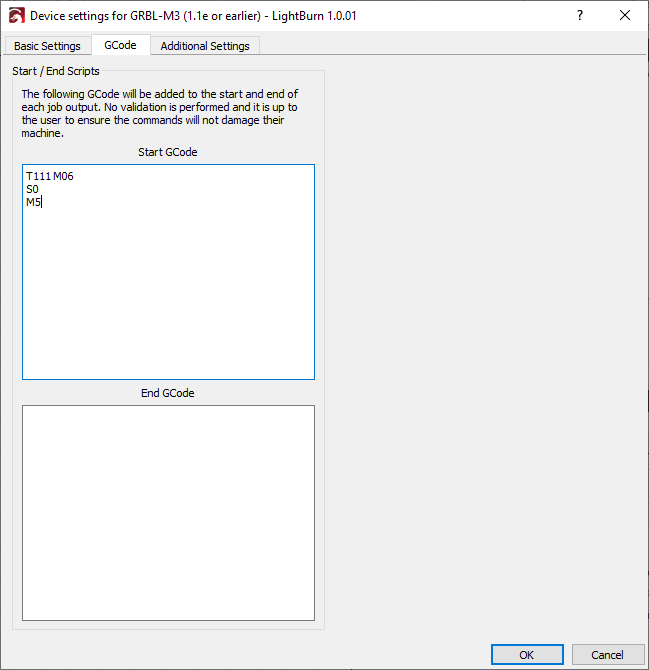
Open the Device Settings
again and select the G-code tab. Enter the following commands in the Start G-code field:
T111 M06
G200 Q0
S0
M5
Click OK to save the settings.

LightBurn configuration for use with MASSO is now complete.
Lightburn Pro version 2
Custom Gcode settings
LightBurn Pro version 2 includes advanced options for customising G-code output. The settings below are recommended for use with MASSO. To avoid errors, it is recommended that these commands are copied and pasted directly into the relevant fields.

Start G-code

T111 M06
G200 Q0 (Power Ramping)
G0 Z0 (Move to cutting height)
S0 M3 (Laser enable)

Before entering new commands, remove any existing text in the field. Deleting all text will cause LightBurn to restore the default value.
Air Assist On

M8
Air Assist Off

M9
Cutting Move

G1 [X]{x} [Y]{y} [Z]{z}[A]{rot}S{power} [F]{speed}
Raster Move

G1 [X]{x} [Y]{y} [Z]{z}[A]{rot}S{power} [F]{speed}
Rapid Move

G0 [X]{x} [Y]{y} [Z]{z}[A]{rot}S0
End G-code

M5
M30
Outputting G-code
The configuration steps above are the minimum required to get LightBurn working with MASSO.
Once your project is complete, select Save G-code to generate the output file. Remove the .gcode extension and replace it with .nc. All future saves will then default to the .nc file format.
Ensure that GRBL-M3 (1.1e or earlier) is selected as the device when saving the file, as this ensures the correct G-code format is generated. This is only an issue if multiple devices have been configured in LightBurn.
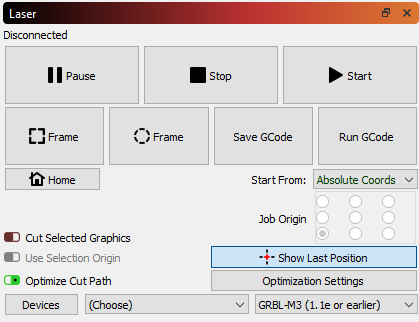
Any Disconnected message displayed in LightBurn can be ignored, as it applies only when a laser is connected directly to LightBurn rather than controlled by MASSO.

Overscanning
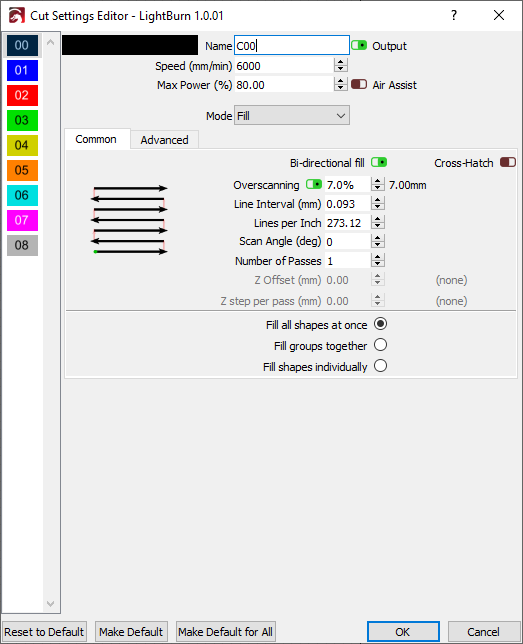
Overscanning is an important feature when engraving images or shaded objects. It allows the laser to continue moving beyond the edge of the engraved area before decelerating.
Without overscanning, the laser slows down as it approaches the end of an engraving pass while remaining switched on. This causes darker burn marks at the start and end of the engraving due to reduced motion speed, resulting in visible edge artefacts.
When overscanning is enabled, the laser turns off before deceleration and turns on only after reaching the correct speed during acceleration. This ensures consistent engraving intensity across the entire image.
As engraving speed increases, the required overscan distance also increases. Faster engraving speeds require longer overscan values to maintain consistent results.

Spanish
French
German
Simplified Chinese