

 Spanish
  French
  German
  Simplified Chinese
 Graphical Interface MASSO G3
This page describes the User interface of MASSO G3 and MASSO Touch running version 4 and 5 software
The user interface is divided into 6 screens from F1 to F6
INFORMATION: The interface can be set as either Horizontal or Vertical by selecting the desired option under F1 General Settings. The Vertical interface is primarily designed for MASSO touch though can be used with any G3 with a suitable touchscreen monitor.
INFORMATION: You can navigate between the screens by pressing keys F1 - F6 or by clicking the buttons at the bottom of the screen.
Horizontal Format
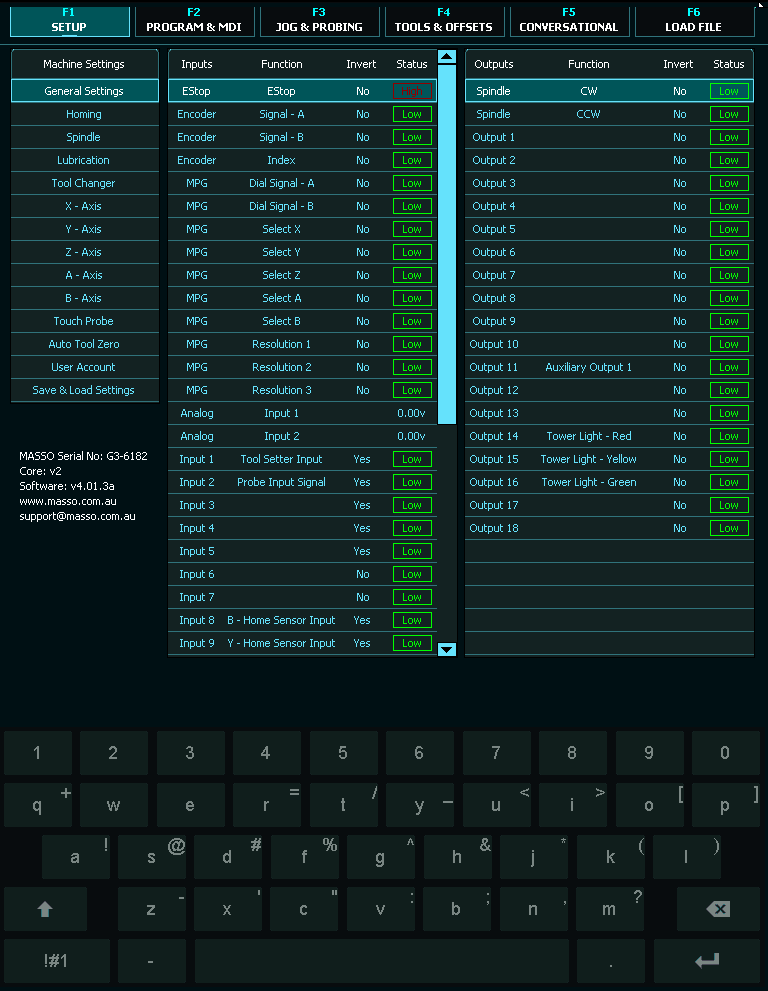
F1 Screen
This screen allows you to configure your MASSO settings.
- When you enter this screen you will be prompted for the Admin Password. Default Password is "HTG"
- If you do not enter the password you will enter read only mode where you will not be able to make changes. Use CTRL+L if you want to reenter the password.

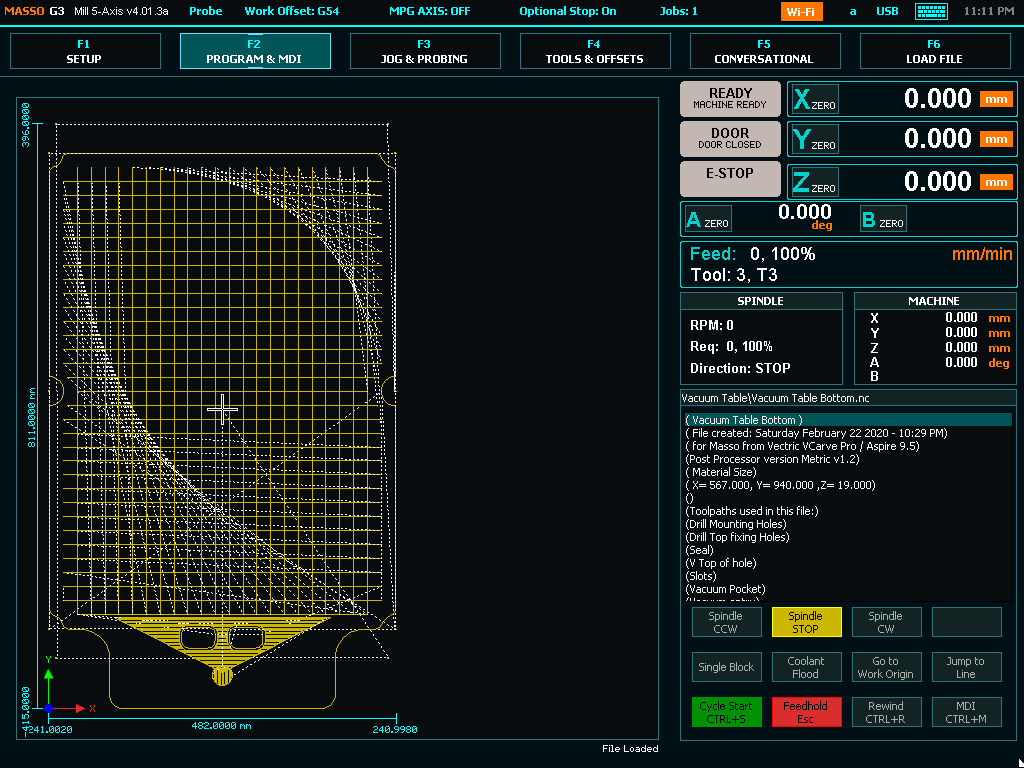
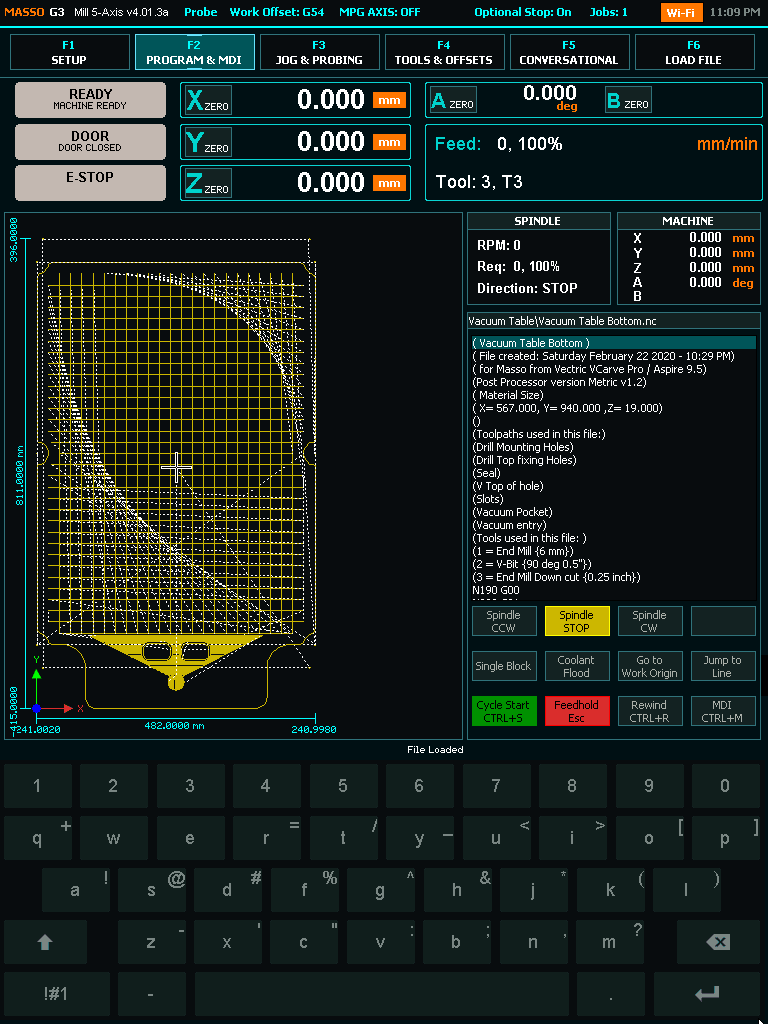
F2 Screen
- When you enter this screen you will be prompted for the User Password. Default Password is "HTG". The user password can be changed or removed.
- Use CTRL+L to lock the Screen and prevent unauthorized use.
- The empty box next to the Spindle CW is where you can enter your spindle speed. Type the desired speed into the box and press enter.
- Click on Wi-Fi at the top of the screen to enter the Wi-Fi configuration page. If Wi-Fi is Orange it is connected.
- Click the Axis Zero buttons to zero out an Axis DRO
- Click on the DRO value to manually enter a new value
- Click Optional Stop at the top of the screen to toggle between on and off.
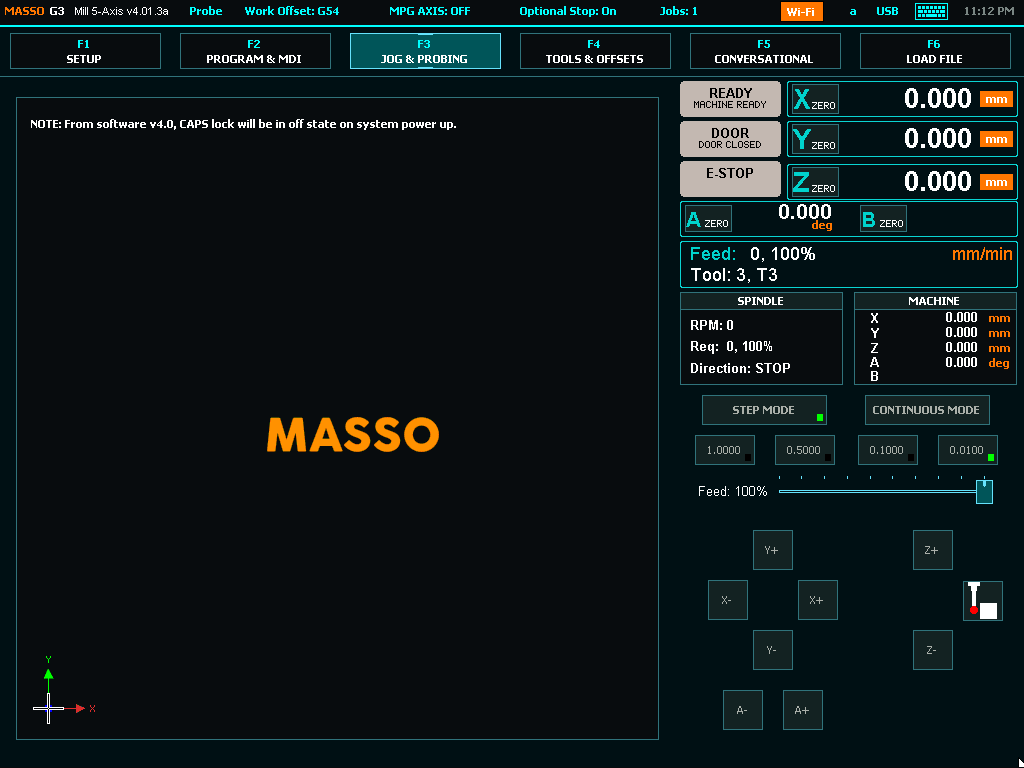
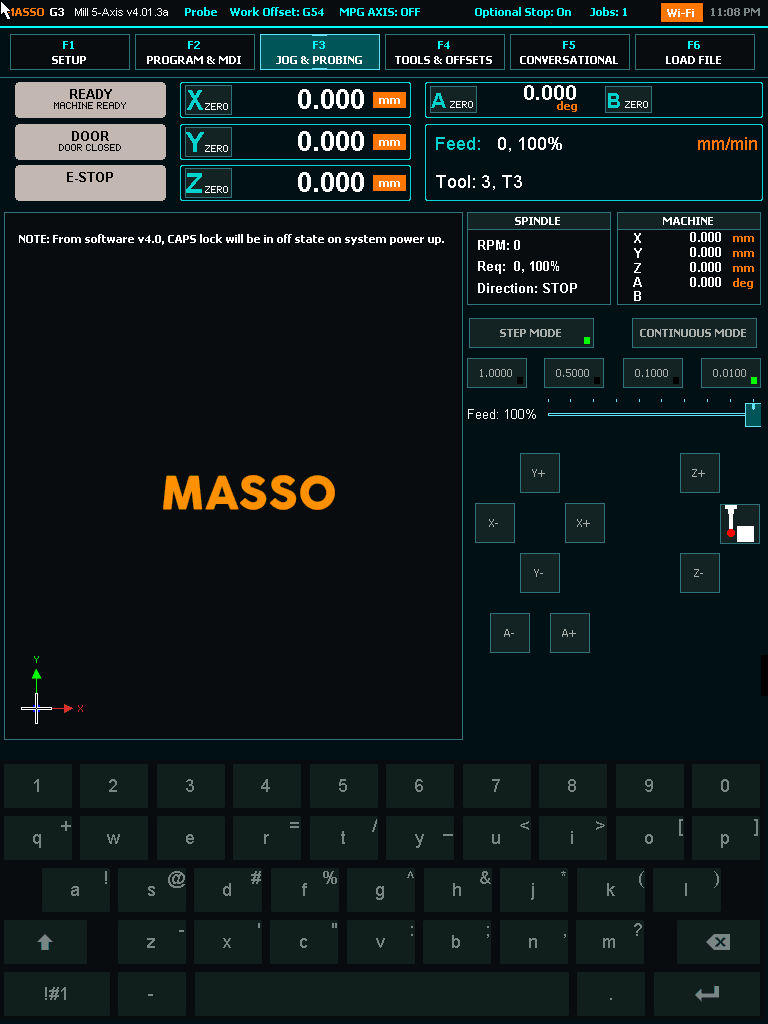
F3 Screen
This is the Jog Screen. From this screen you can Home and Jog your machine.
- You can access MASSO probing functions by pressing the probing button on screen.
- Press the Home Button for 3 seconds to home the machine
- Jog and using the Axis + & - Buttons
- Select continuous or step jog mode as well as step distance
- Use the Slider to set continuous jog speed.
- Click the Axis Zero buttons to zero out an Axis DRO
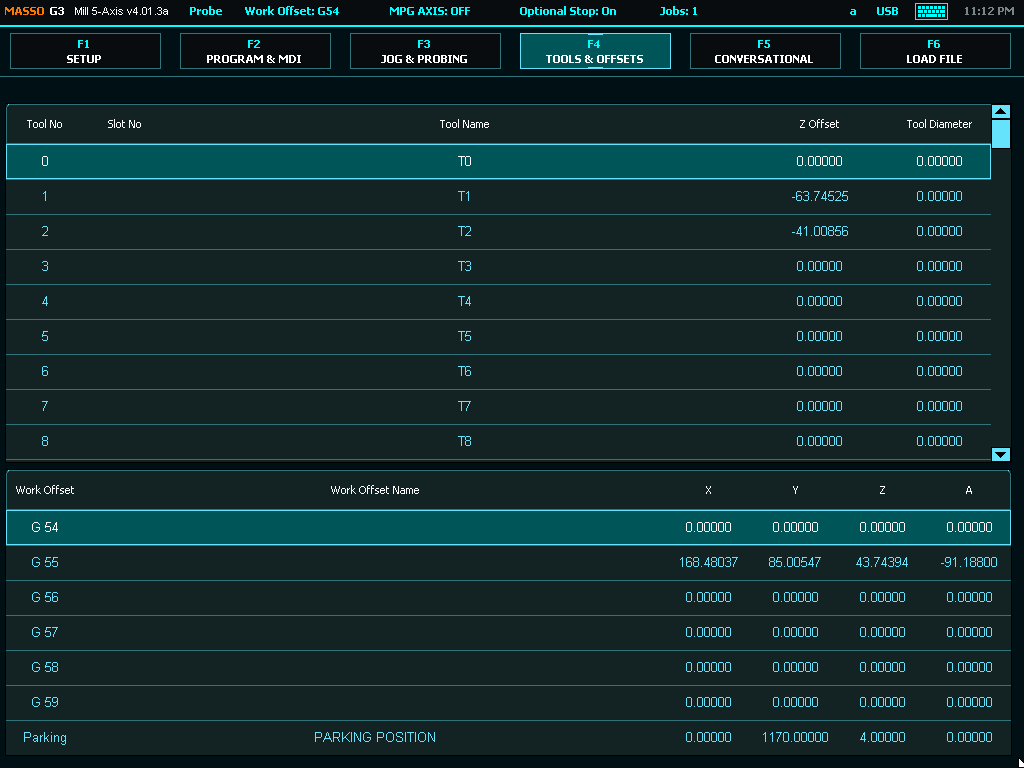
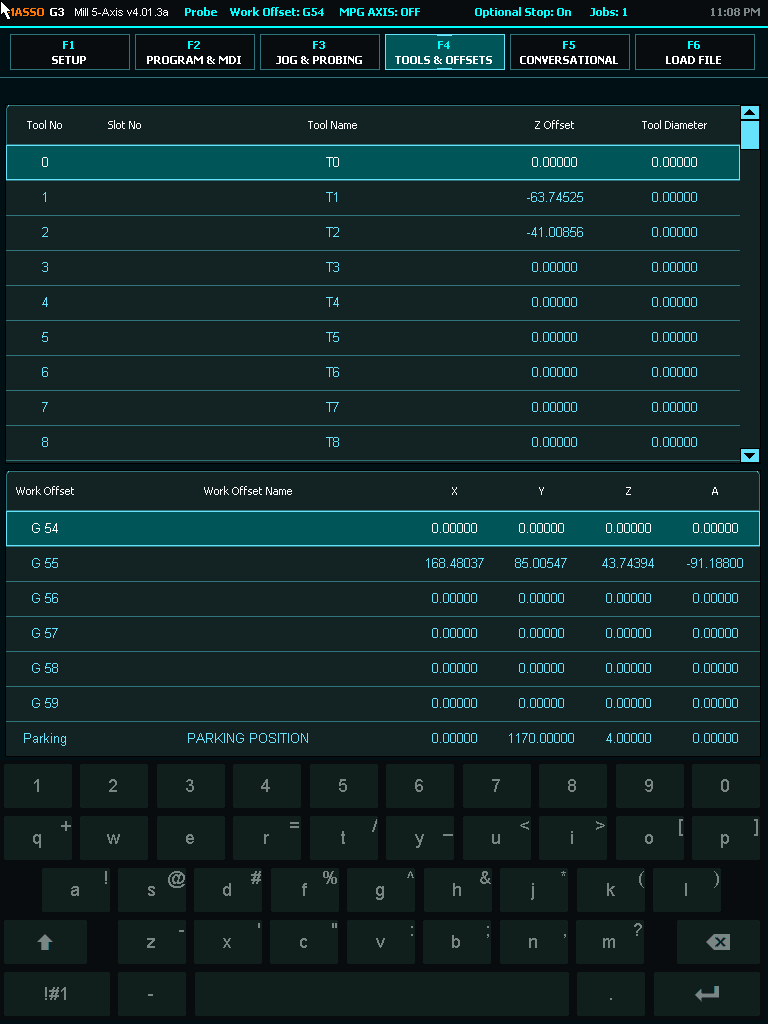
F4 Screen
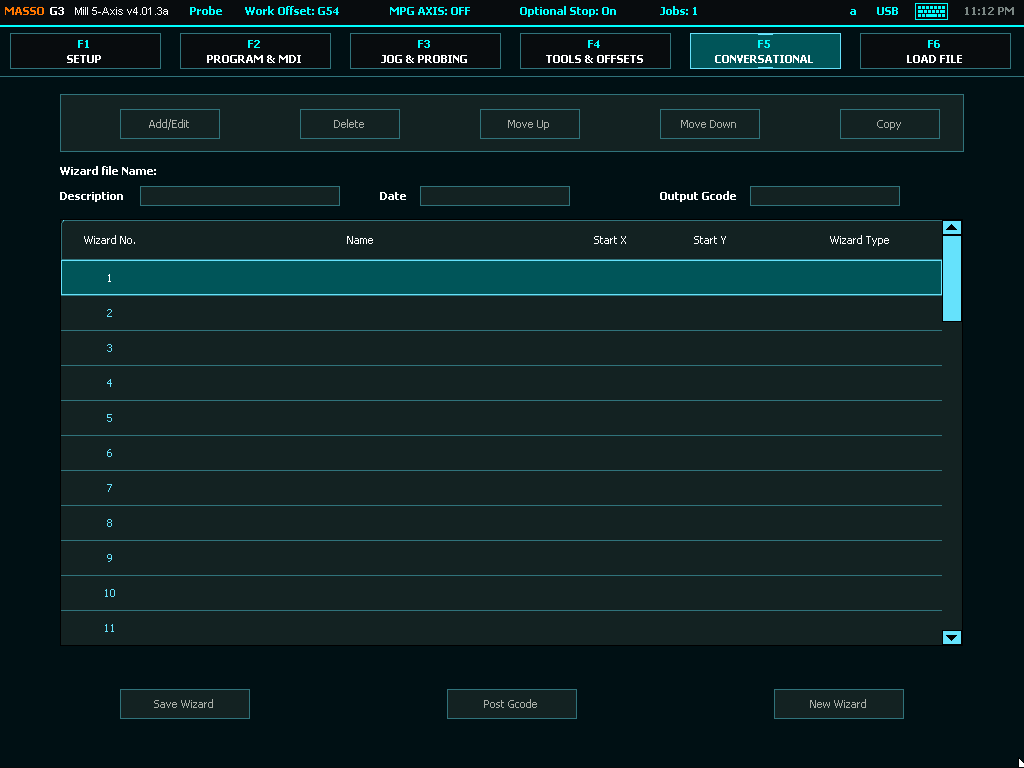
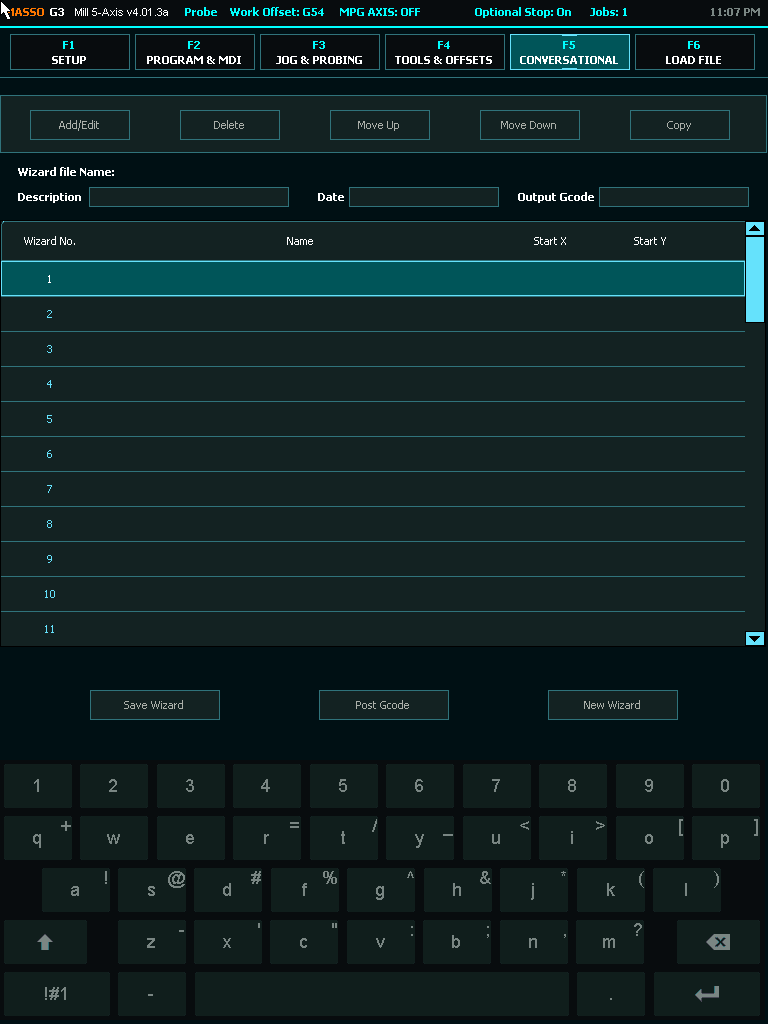
F5 Screen
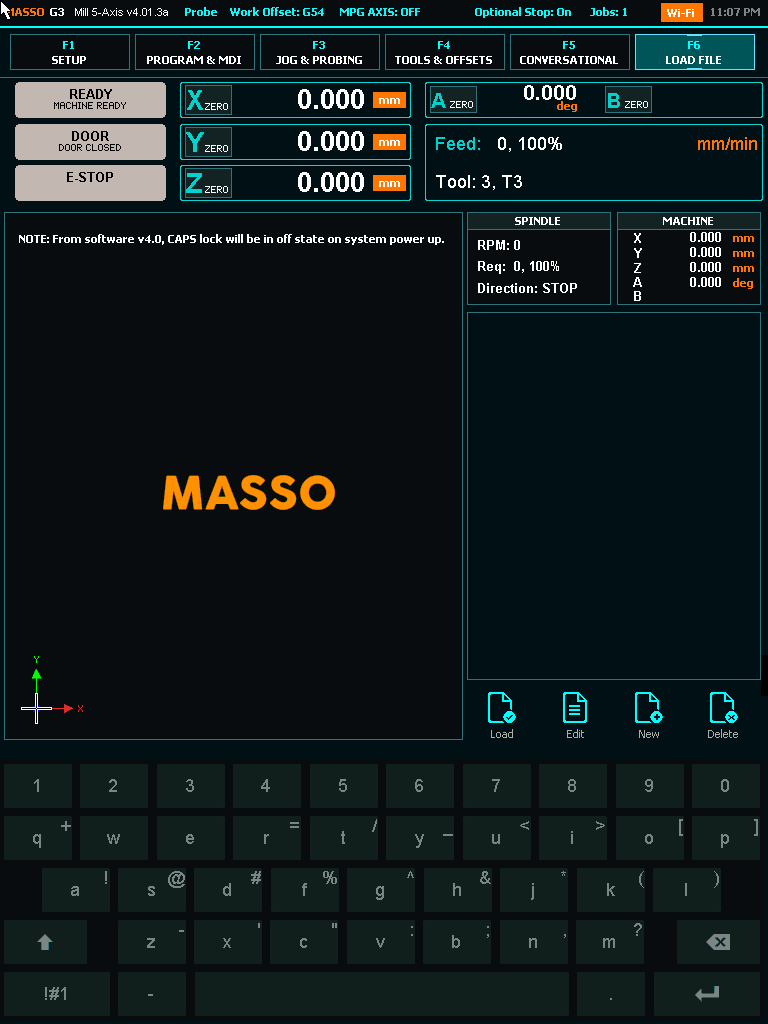
F6 Screen
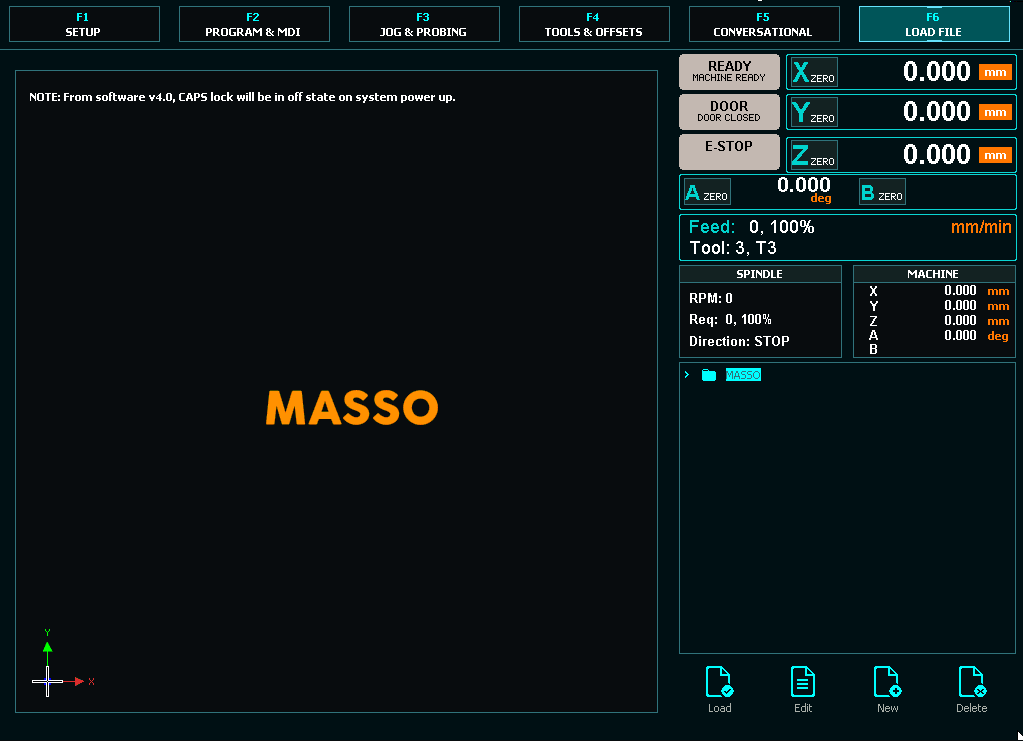
Vertical Touch Screen Format
F1 Screen
This screen allows you to configure your Masso settings.
- When you enter this screen you will be prompted for the Admin Password. Default Password is "HTG"
- If you do not enter the password you will enter read only mode where you will not be able to make changes. Use CTRL+L if you want to reenter the password.
F2 Screen
- When you enter this screen you will be prompted for the User Password. Default Password is "HTG". The user password can be changed or removed.
- Use CTRL+L to lock the Screen and prevent unauthorized use.
- The empty box next to the Spindle CW is where you can enter your spindle speed. Type the desired speed into the box and press enter.
- Click on Wi-Fi at the top of the screen to enter the Wi-Fi configuration page. If Wi-Fi is Orange it is connected.
- Click the Axis Zero buttons to zero out an Axis DRO
- Click on the DRO value to manually enter a new value
- Click Optional Stop at the top of the screen to toggle between on and off.
F3 Screen
This is the Jog Screen. From this screen you can Home and Jog your machine.
- You can access MASSO probing functions by pressing the probing button on screen.
- Press the Home Button for 3 seconds to home the machine
- Jog and using the Axis + & - Buttons
- Select continuous or step jog mode as well as step distance
- Use the Slider to set continuous jog speed.
- Click the Axis Zero buttons to zero out an Axis DRO
F4 Screen
F5 Screen
F6 Screen
2D View
MASSO has 2 views for Gcode files
The 2D view shows the tool path with cutting paths shown in Yellow and the rapids shown as Dotted white lines
the user can select between 2D and Depth Map views by clicking the 2D view Button or the Depth Map button in the toolpath window
Depth MAP View
This displays the toolpath as a function of depth with lighter colours indicating higher areas and darker colours being the lowest.
The image automatically scales to show the widest range of depth.