Spanish
  French
  German
  Simplified Chinese
 Adding a DTHC
DTHC Linking
Users can now assign a DTHC device that has been purchased to a controller from my Workshop
Once logged into your my Workshop you can do the following to manage and link an Add-on DTHC device.
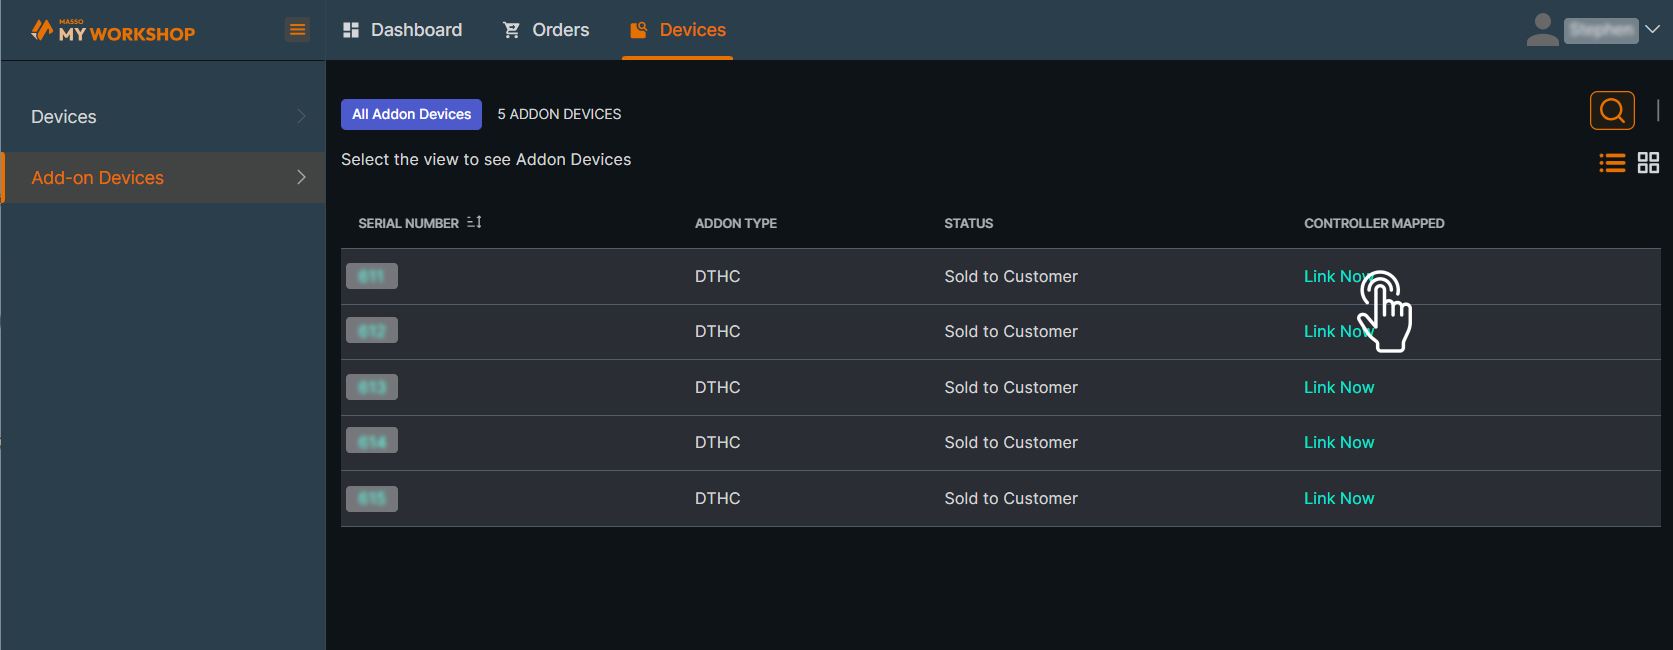
- Select Devices menu on the top and then select Add-on Devices from the left side bar.
- You will see a list of DTHC serial numbers that you have purchased.
- Check your DTHC serial number and select Link now to link a DTHC to a controller as indicated in the image below.
- This will open a window from right side of screen. Enter the Controller serial number to be linked.
- Click the "Link Now" button as indicated in image below.
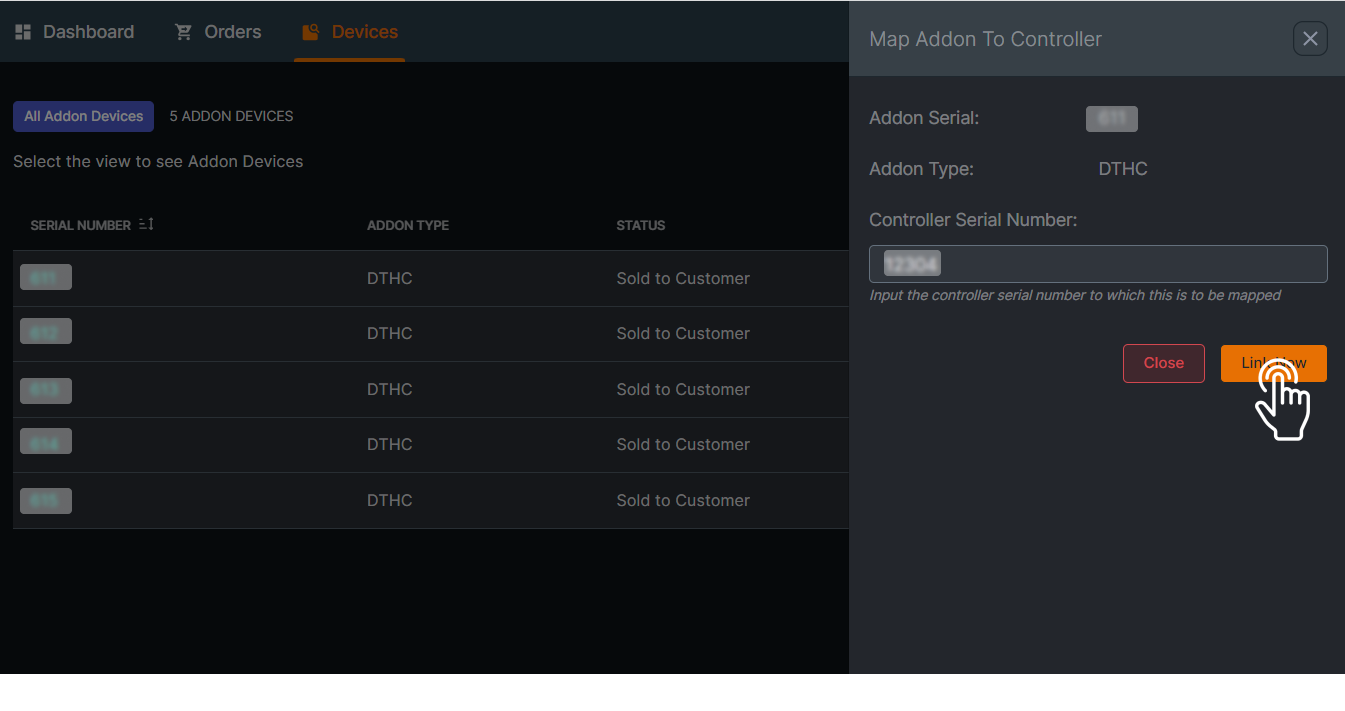
WARNING: Please be careful as once the DTHC module is linked, it cannot be unlinked.
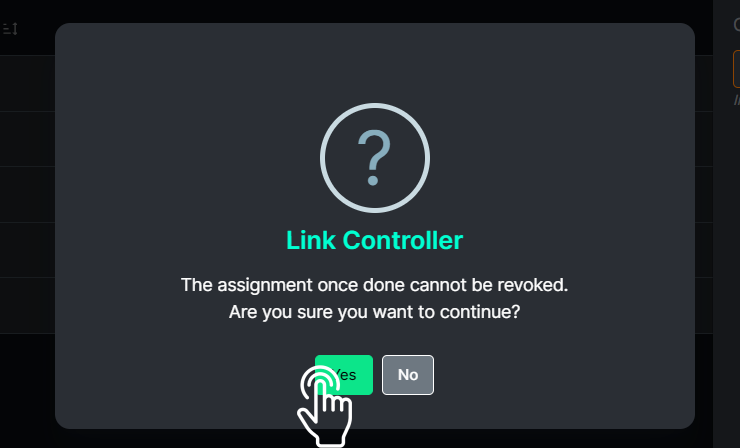
- There will be a pop up window saying “The assignment once done, cannot be revoked. Are you sure you want to continue?” Meaning once the DTHC module is linked, it cannot be unlinked.
- Select Yes to link.
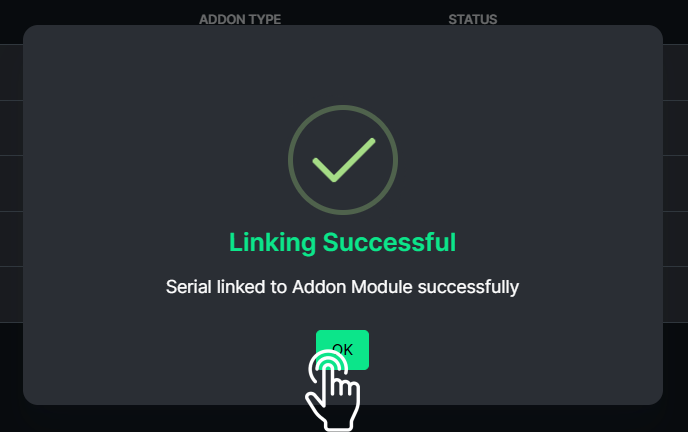
• Once linked there will be a pop up saying “Linking successful”
• Once the add-on device has been linked, the serial number should appear under Controller Mapped for the DTHC serial number you have linked it to.
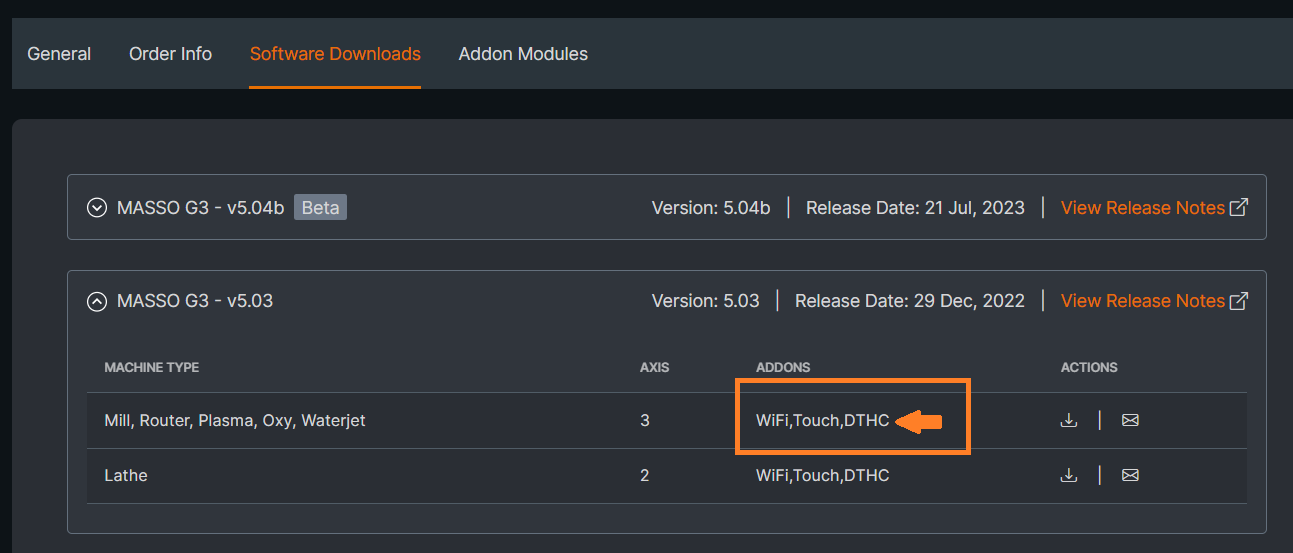
• You can now download the new software for the controller from my Workshop and load it into MASSO. It will now include the DTHC software add-on highlighted below.
The DTHC will not work until this new software version is loaded onto MASSO.